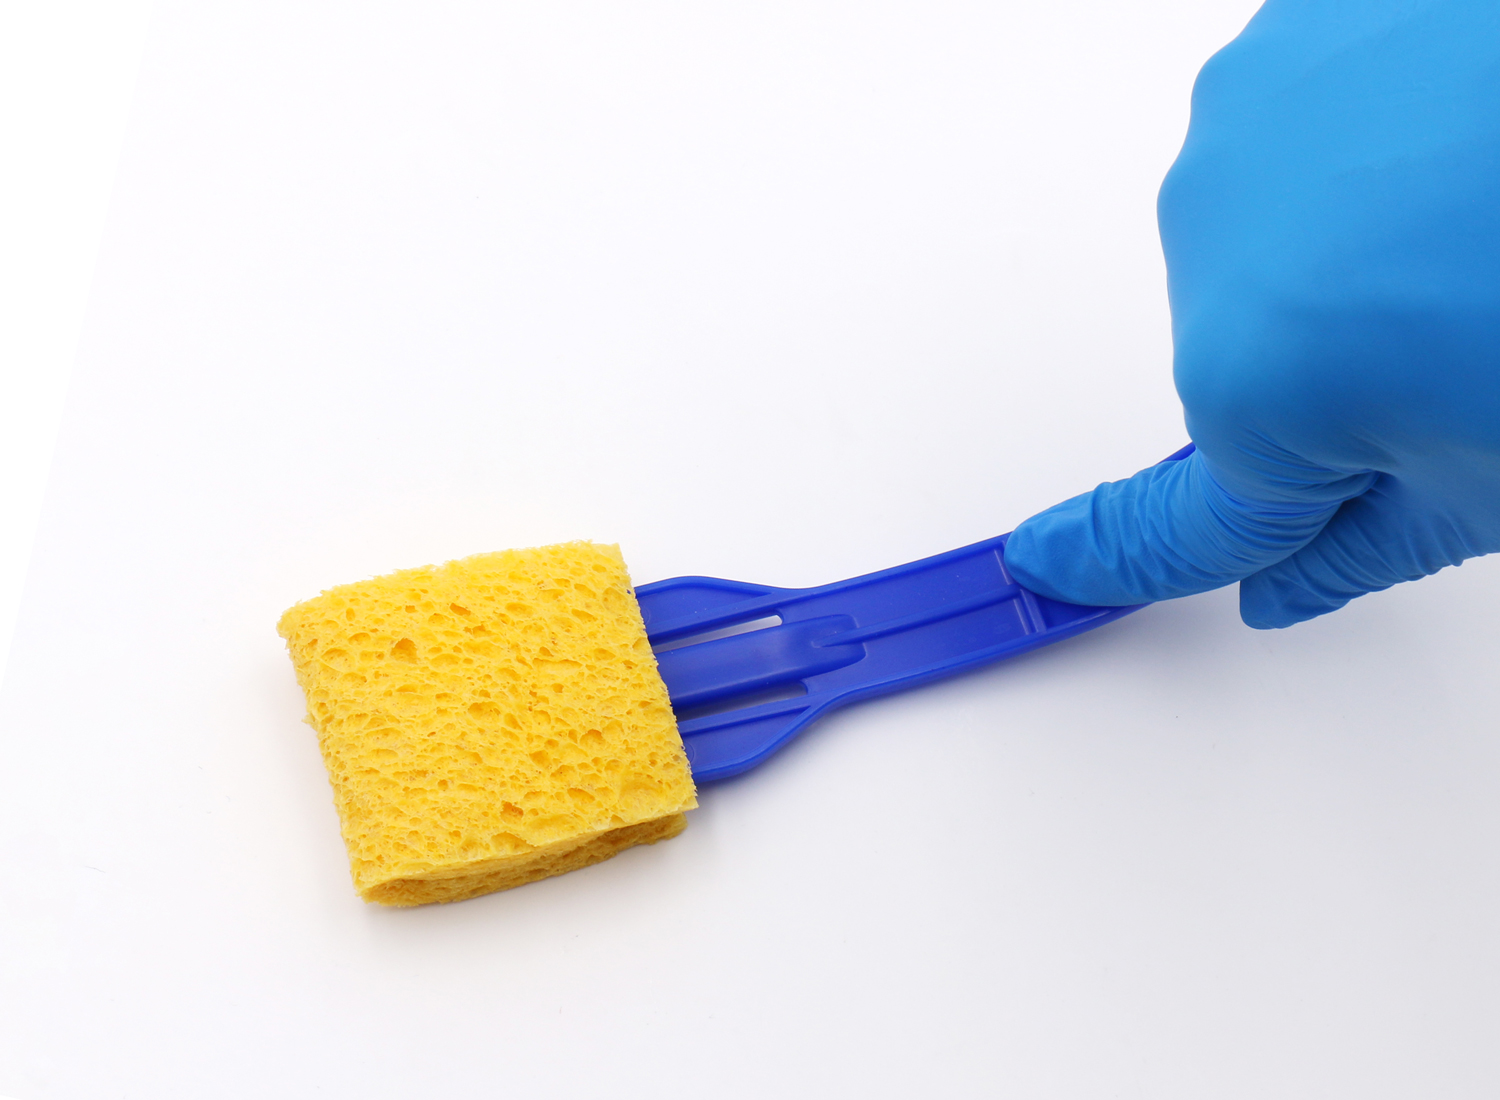
Surface sampling is a critical process in environments like food processing facilities, healthcare settings, and research laboratories. One of the most effective methods for collecting surface samples is using a cellulose sponge. This reliable technique ensures accurate data collection when performed systematically and with proper preparation. In this guide, we’ll walk you through the best practices for sampling with cellulose sponges to improve sample recovery, minimize contamination, and obtain meaningful data for analysis.
Why Choose Cellulose Sponges for Surface Sampling?
Cellulose sponges are highly absorbent and versatile tools for collecting surface samples. They work well in various environments and are compatible with a range of sampling solutions. When used correctly, they help ensure consistent and reliable results, making them an excellent choice for quality control, research, or regulatory compliance.
By following a systematic approach to sampling, you can maximize the recovery of microorganisms or residues while reducing the risk of contamination. Here’s how to do it right.
Step 1: Prepare Your Materials
Before starting the sampling process, gather all necessary materials to ensure a smooth and contamination-free workflow. You’ll need:
- Sterile cellulose sponges
- Sterile sampling bag or container
- Appropriate diluent or neutralizing solution
- Gloves (preferably sterile)
- Personal protective equipment (PPE)
Key Considerations:
- Sterility is essential: Ensure all materials are sterile to eliminate cross-contamination risks.
- Choose the right sponge: Different sponges have varying absorption capacities and solution compatibility. Select one that suits your specific sampling needs.
Step 2: Hydrate the Cellulose Sponge
Proper hydration of the sponge is critical for effective sampling. A dry sponge may fail to collect microorganisms or residues from the target surface.
How to Hydrate the Sponge:
- Aseptically open the sterile packaging.
- Add the required volume of diluent or neutralizing solution to the sponge.
- For pre-moistened sponges, ensure they remain adequately saturated before use.
Hydrated sponges enhance contaminant pickup while maintaining the integrity of the sample. Be sure to avoid over-saturating the sponge to prevent dripping, which could compromise sample quality.
Step 3: Perform the Sampling
With the sponge properly prepared, you’re ready to collect your surface sample.
Sampling Technique:
- Wear sterile gloves: This minimizes the risk of introducing contaminants.
- Remove the sponge from its container and gently squeeze out any excess liquid.
- Use a systematic motion: Swab the surface using overlapping horizontal and vertical strokes to ensure thorough coverage.
- Apply even pressure: This helps maximize sample collection without damaging the surface or the sponge.
Pro Tip:
Focus on consistent technique. A systematic approach ensures a representative sample, particularly in regulated environments like food safety inspections or healthcare monitoring.
Step 4: Handle the Sample with Care
Once the sample is collected, proper handling is essential to preserve its integrity.
- Place the sponge into a sterile sampling bag or container: Avoid contact with non-sterile surfaces.
- Add additional diluent if needed: This helps maintain sample viability during transport.
- Label the sample clearly: Include key details such as the date, time, location, and sample identification number for traceability.
Step 5: Transport and Store the Sample
Timely transport and proper storage are critical for preserving the sample’s viability and ensuring accurate testing results.
Best Practices for Transport and Storage:
- Transport promptly: Deliver the sample to the laboratory or testing facility as quickly as possible.
- Store at the appropriate temperature: If immediate analysis isn’t possible, follow established storage guidelines to prevent degradation.
Proper transport and storage practices ensure that the sample remains representative of the original environment, enabling reliable analysis.
Benefits of Following Best Practices
By adhering to these steps, you can:
- Minimize contamination risks: Sterile materials and careful handling reduce cross-contamination.
- Ensure reliable results: Proper hydration, technique, and transport maintain sample integrity.
- Generate meaningful data: Accurate sampling supports quality control, research, and regulatory compliance.


