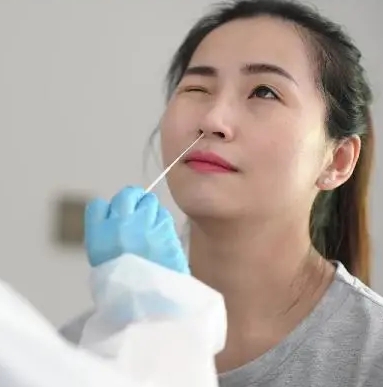
Collecting an anterior nasal specimen, often referred to as a “nasal swab,” is a common medical procedure used to detect various conditions and infections, such as the influenza virus or COVID-19. Proper sample collection is crucial to ensure accurate test results and patient safety. In this blog post, we’ll guide you through the step-by-step process of collecting an anterior nasal specimen.
Preparing for Nasal Swab Collection
Before beginning the sample collection, it’s important to ensure you have all the necessary equipment, including:
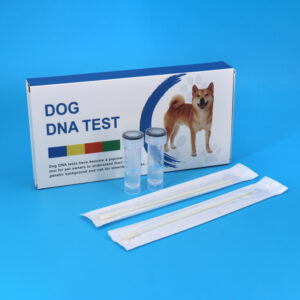
- A sterile nasal swab
- Personal protective equipment (PPE), such as gloves, a face mask, and a gown
- A clean, well-lit work area
Collecting the Anterior Nasal Specimen
- Wash your hands: Thoroughly wash your hands with soap and water or use an alcohol-based hand sanitizer.
- Don PPE: Put on your gloves, face mask, and gown.
- Tilt the patient’s head: Gently tilt the patient’s head back and ask them to gently close their eyes.
- Tilt the patient’s head: Gently tilt the patient’s head back and ask them to gently close their eyes.
- Insert the swab: Carefully insert the swab into the nostril, angling it slightly upward and toward the back of the nasal cavity. Gently rotate the swab and leave it in place for 10-15 seconds.
- Repeat on the other side: Repeat the same process in the other nostril using the same swab.
- Remove the swab: Slowly withdraw the swab, taking care not to touch any surfaces or the patient’s skin.
Properly Handling the Specimen
- Place the swab in the transport media: Immediately place the swab in the appropriate transport media or container, as specified by the testing laboratory.
- Label the specimen: Clearly label the specimen with the patient’s information, the date and time of collection, and any other relevant details.
- Store the specimen: Store the specimen at the recommended temperature, usually between 2-8°C (36-46°F), until it can be transported to the laboratory.


