Cervical screening is an essential part of women’s health care, and self-sampling offers a convenient and private way to participate. This blog post provides comprehensive step-by-step instructions for cervical screening self-sampling, empowering you to take charge of your health.
What is Cervical Screening Self-Sampling?
Cervical screening self-sampling allows individuals to collect their own samples for HPV testing, which can help detect the presence of high-risk types of the virus that may lead to cervical cancer. This method can be done in the comfort of your home, making it a more accessible option for many.
Why Choose Self-Sampling?
Self-sampling has several benefits, including:
- Convenience: You can perform the test at a time that suits you.
- Comfort: Many find self-sampling less invasive than traditional methods.
- Privacy: You can maintain your privacy while taking care of your health.
Step 1: Gather Your Supplies
Before starting, ensure you have the following supplies:
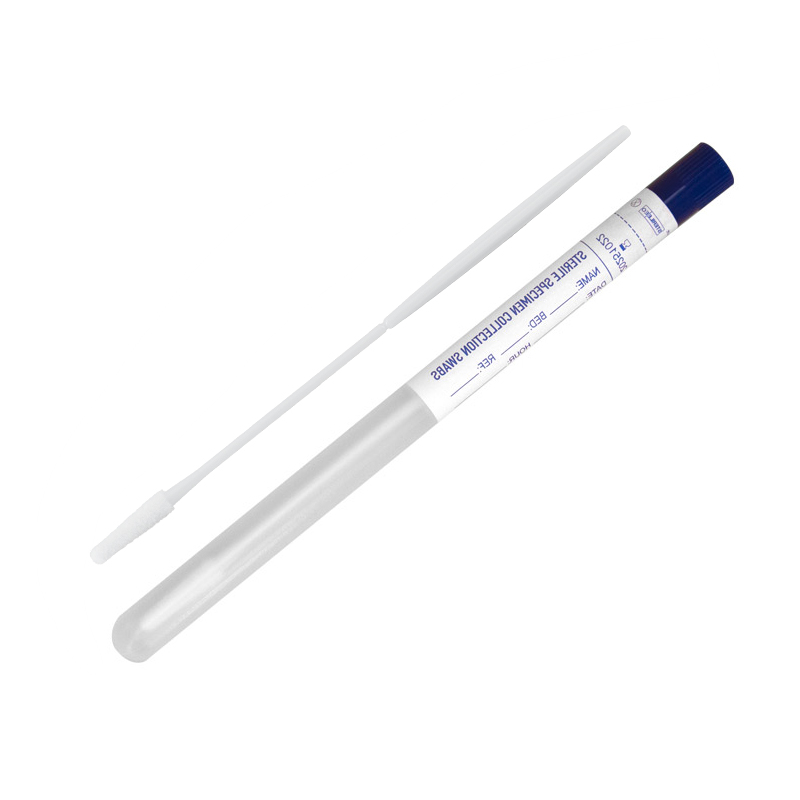
- Cervical self-sampling kit (usually provided by healthcare providers)
- Instructions booklet
- A clean, flat surface for the procedure
- Soap and water for handwashing
Step 2: Prepare Yourself
- Choose a Comfortable Environment: Find a private space where you feel relaxed.
- Wash Your Hands: Clean your hands thoroughly with soap and water.
Step 3: Read the Instructions
Carefully read the instructions included in your self-sampling kit. Each kit may have specific guidelines, so it’s crucial to understand the steps.
Step 4: Collect the Sample

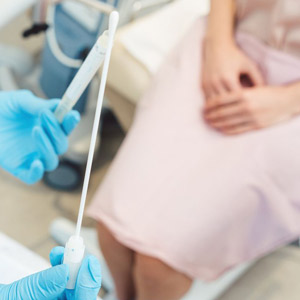
- Remove the Cervical Swab: Take the swab out of the package without touching the tip.
- Insert the Cervical Swab: Gently insert the swab into your vagina, about 5-7 cm deep.
- Rotate the Cervical Swab: Rotate the swab for about 10-15 seconds to collect the sample.
- Remove and Place in Container: Carefully remove the swab and place it in the provided container.
Step 5: Seal and Send
- Seal the Container: Ensure that the container is tightly sealed to avoid contamination.
- Follow Shipping Instructions: Use the provided materials to send your sample to the laboratory.
Step 6: Follow Up
Once you’ve sent your sample, wait for the results as instructed in your kit. Make sure to keep track of any follow-up appointments or additional steps recommended by your healthcare provider.
Cervical screening self-sampling is a safe, convenient, and effective way to monitor your health. By following these steps, you can take control of your cervical health and ensure you are taking the necessary measures for early detection.


