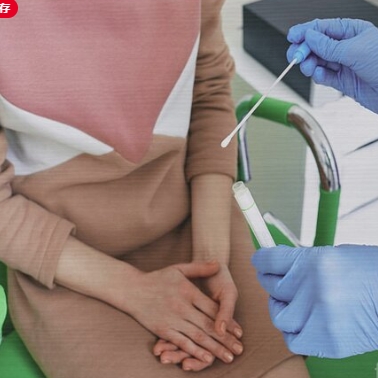
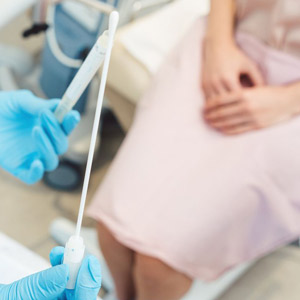
Self-collected vaginal swabs provide a revolutionary, hassle-free way for women to test for sexually transmitted infections (STIs) like gonorrhea and chlamydia. This method is ideal for women who do not need a pelvic exam during their clinic visit and prefer a more private and convenient option. Below, we dive into everything you need to know about self-collection, including step-by-step instructions and tips for accurate testing.
Why Choose Self-Collected Vaginal Swabs?
Self-collection of vaginal swabs offers numerous benefits, empowering women to take control of their sexual health. Here’s why it’s an excellent option:
- Convenience: No pelvic exam is required, making the process simpler and quicker.
- Privacy: You can collect the sample in a comfortable and discreet setting.
- Effectiveness: When instructions are carefully followed, self-collected swabs provide highly accurate results.
Before starting, ensure your healthcare provider has explained the process and answered any questions you might have.
Step-by-Step Guide to Self-Collected Vaginal Swabs
Follow these detailed steps to safely and effectively collect your sample:
1. Prepare Yourself
- Wash your hands thoroughly with soap and water to maintain hygiene.
- Undress from the waist down to allow easy access for sample collection.
2. Review the Test Kit
- Read the instructions included in your test kit carefully.
- Open the package and set the tube of liquid aside, ensuring it remains sealed and untouched.
3. Handle the Swab Properly
- Open the swab package to expose the stick end. Avoid touching the soft tip to keep it sterile.
- Important: If the soft tip gets touched, dropped, or comes into contact with any surface, discard it and request a new test kit.
4. Collect the Sample
- Hold the swab by the middle of the shaft.
- Gently insert the soft tip about 2 inches (5 cm) into your vagina.
- Rotate the swab gently for 10–30 seconds, ensuring it makes contact with the vaginal walls to absorb moisture effectively.
5. Insert the Swab into the Tube
- Carefully remove the swab without letting it touch your skin.
- Unscrew the cap from the tube of liquid, being cautious not to spill the contents.
- Insert the swab into the tube, ensuring the soft tip is submerged below the tube label.
6. Secure the Sample
- Break the swab shaft at the scoreline (the indentation on the stick).
- Discard the top portion of the swab and tightly screw the cap back onto the tube.
- Note: If the liquid spills or the swab touches any surface, request a new test kit.
7. Return the Sample
- Follow the instructions provided by your nurse or doctor to return the sample for testing.
Tips for a Successful Sample Collection
To ensure the accuracy of your test results, keep these tips in mind:
- Choose a clean, private environment to reduce the risk of contamination.
- Take your time and follow each step carefully to avoid errors.
- If you experience any challenges or have questions during the process, consult your healthcare provider immediately.
Why Regular STI Testing Is Important
Screening for STIs such as gonorrhea and chlamydia is a crucial part of maintaining your overall health. Untreated infections can lead to complications like pelvic inflammatory disease (PID), infertility, and an increased risk of contracting other infections. Self-collected vaginal swabs make it easier than ever to stay proactive about your sexual health.
Final Thoughts
Self-collected vaginal swabs are a game-changer in STI testing, offering women a private, convenient, and reliable option for screening. By following the outlined steps and tips, you can confidently collect your sample and take an important step toward safeguarding your health.
If you have any doubts or concerns about the process, don’t hesitate to reach out to your doctor or nurse for guidance. Remember, taking control of your sexual health is empowering—and self-testing makes it easier than ever.


